

It’s that time of the year when the summer slowly comes to an end and we’re welcomed with darker mornings and earlier evenings. Whilst these things can’t be avoided, the autumn months also come with a change in the weather. Although this summer has barely been the hot, sunny one that we all wish that we had got to experience, the inevitable wind and rain of the autumn is definitely upon us already.
Whilst you might seem optimistic for the weather in the mornings when getting ready, it can be incredibly disheartening after getting ready, only for the wind and rain to flatten and destroy your hair for the day. It’s more than likely that we’ve all arrived somewhere looking windswept at least once in our lives when it becomes a regular occurrence it can begin to get annoying!
Although planning for the bad weather might put a bit of a downer on your day, it’s always best to be prepared no matter the weather. Fixing your hair into a style that should hopefully not move no matter how much wind you are faced with is a good way of ensuring that you always look your best. We’ve compiled a list of our favourite styles that look good all year round!
There is a reason why braids have become increasingly popular, and that is thanks to the fact that they stay in place all day, no matter the weather. Learning to braid can take time and effort, but once you have it perfected, it is a timeless style that can be used time and time again. There are lots of different styles of braids that you can learn, but one of our favourites is the French braid. One of the main reasons that we think this is definitely something you should consider getting your fingers around is due to its versatility. One braid, two braids, braids into a bun – the styles are endless. Here’s how to do it:
Step one
Gather a large section of hair from the front of your head. This section needs to have hair gathered evenly, before splitting into three equal sections. This will be the starting place for your braid to begin, so place the right section of hair in your right hand, followed by the left section in the left hand. For the remaining section, place this between the thumb and a finger on whichever hand you feel most comfortable.
Step two
Cross the right section over the middle section, before smoothing over. Then, follow the motion with the left section, crossing over the middle again. It is important that you pull each section tightly, as to ensure that the braid stays in place all day.
Step three
Before crossing the right section over the middle one once more, gather some hair from the right-hand side of the head to incorporate into the braid. After smoothing over, repeat the same motion practised earlier.
Step four
On the left-hand side of the head, it is important to make sure that the amount of hair you are picking up is the same amount as on the right-hand side. This will ensure that the braid looks uniform. Once again, follow the motion explained in step two.
Step five
Continue to repeat sections three and four, picking up equal sized sections of hair as you work your way down the braid.
Now that you have learnt the basic method of French braiding, it is time to incorporate some different methods in order to switch up the style! Below, we have listed our top three favourite ways to utilise the French braid on a windy day.
The classic French braid
This style just extends the basic principles of braiding that you have learnt in the steps above.

Step six
Continue the braid down to the nape of the neck, ensuring that you pull each strand of hair tightly to make sure that hair doesn’t come loose.
Step seven
When reaching the base of the head, continue down the hair plating as you would ordinarily, then tie with a hair band.
Tip – If you want to mix this hairstyle up, start with the hair split in two section before following the steps above in the same way. Having your hair parted in the middle with two French braids on either side is a popular style and is done by simply following the basic principles of one plait!
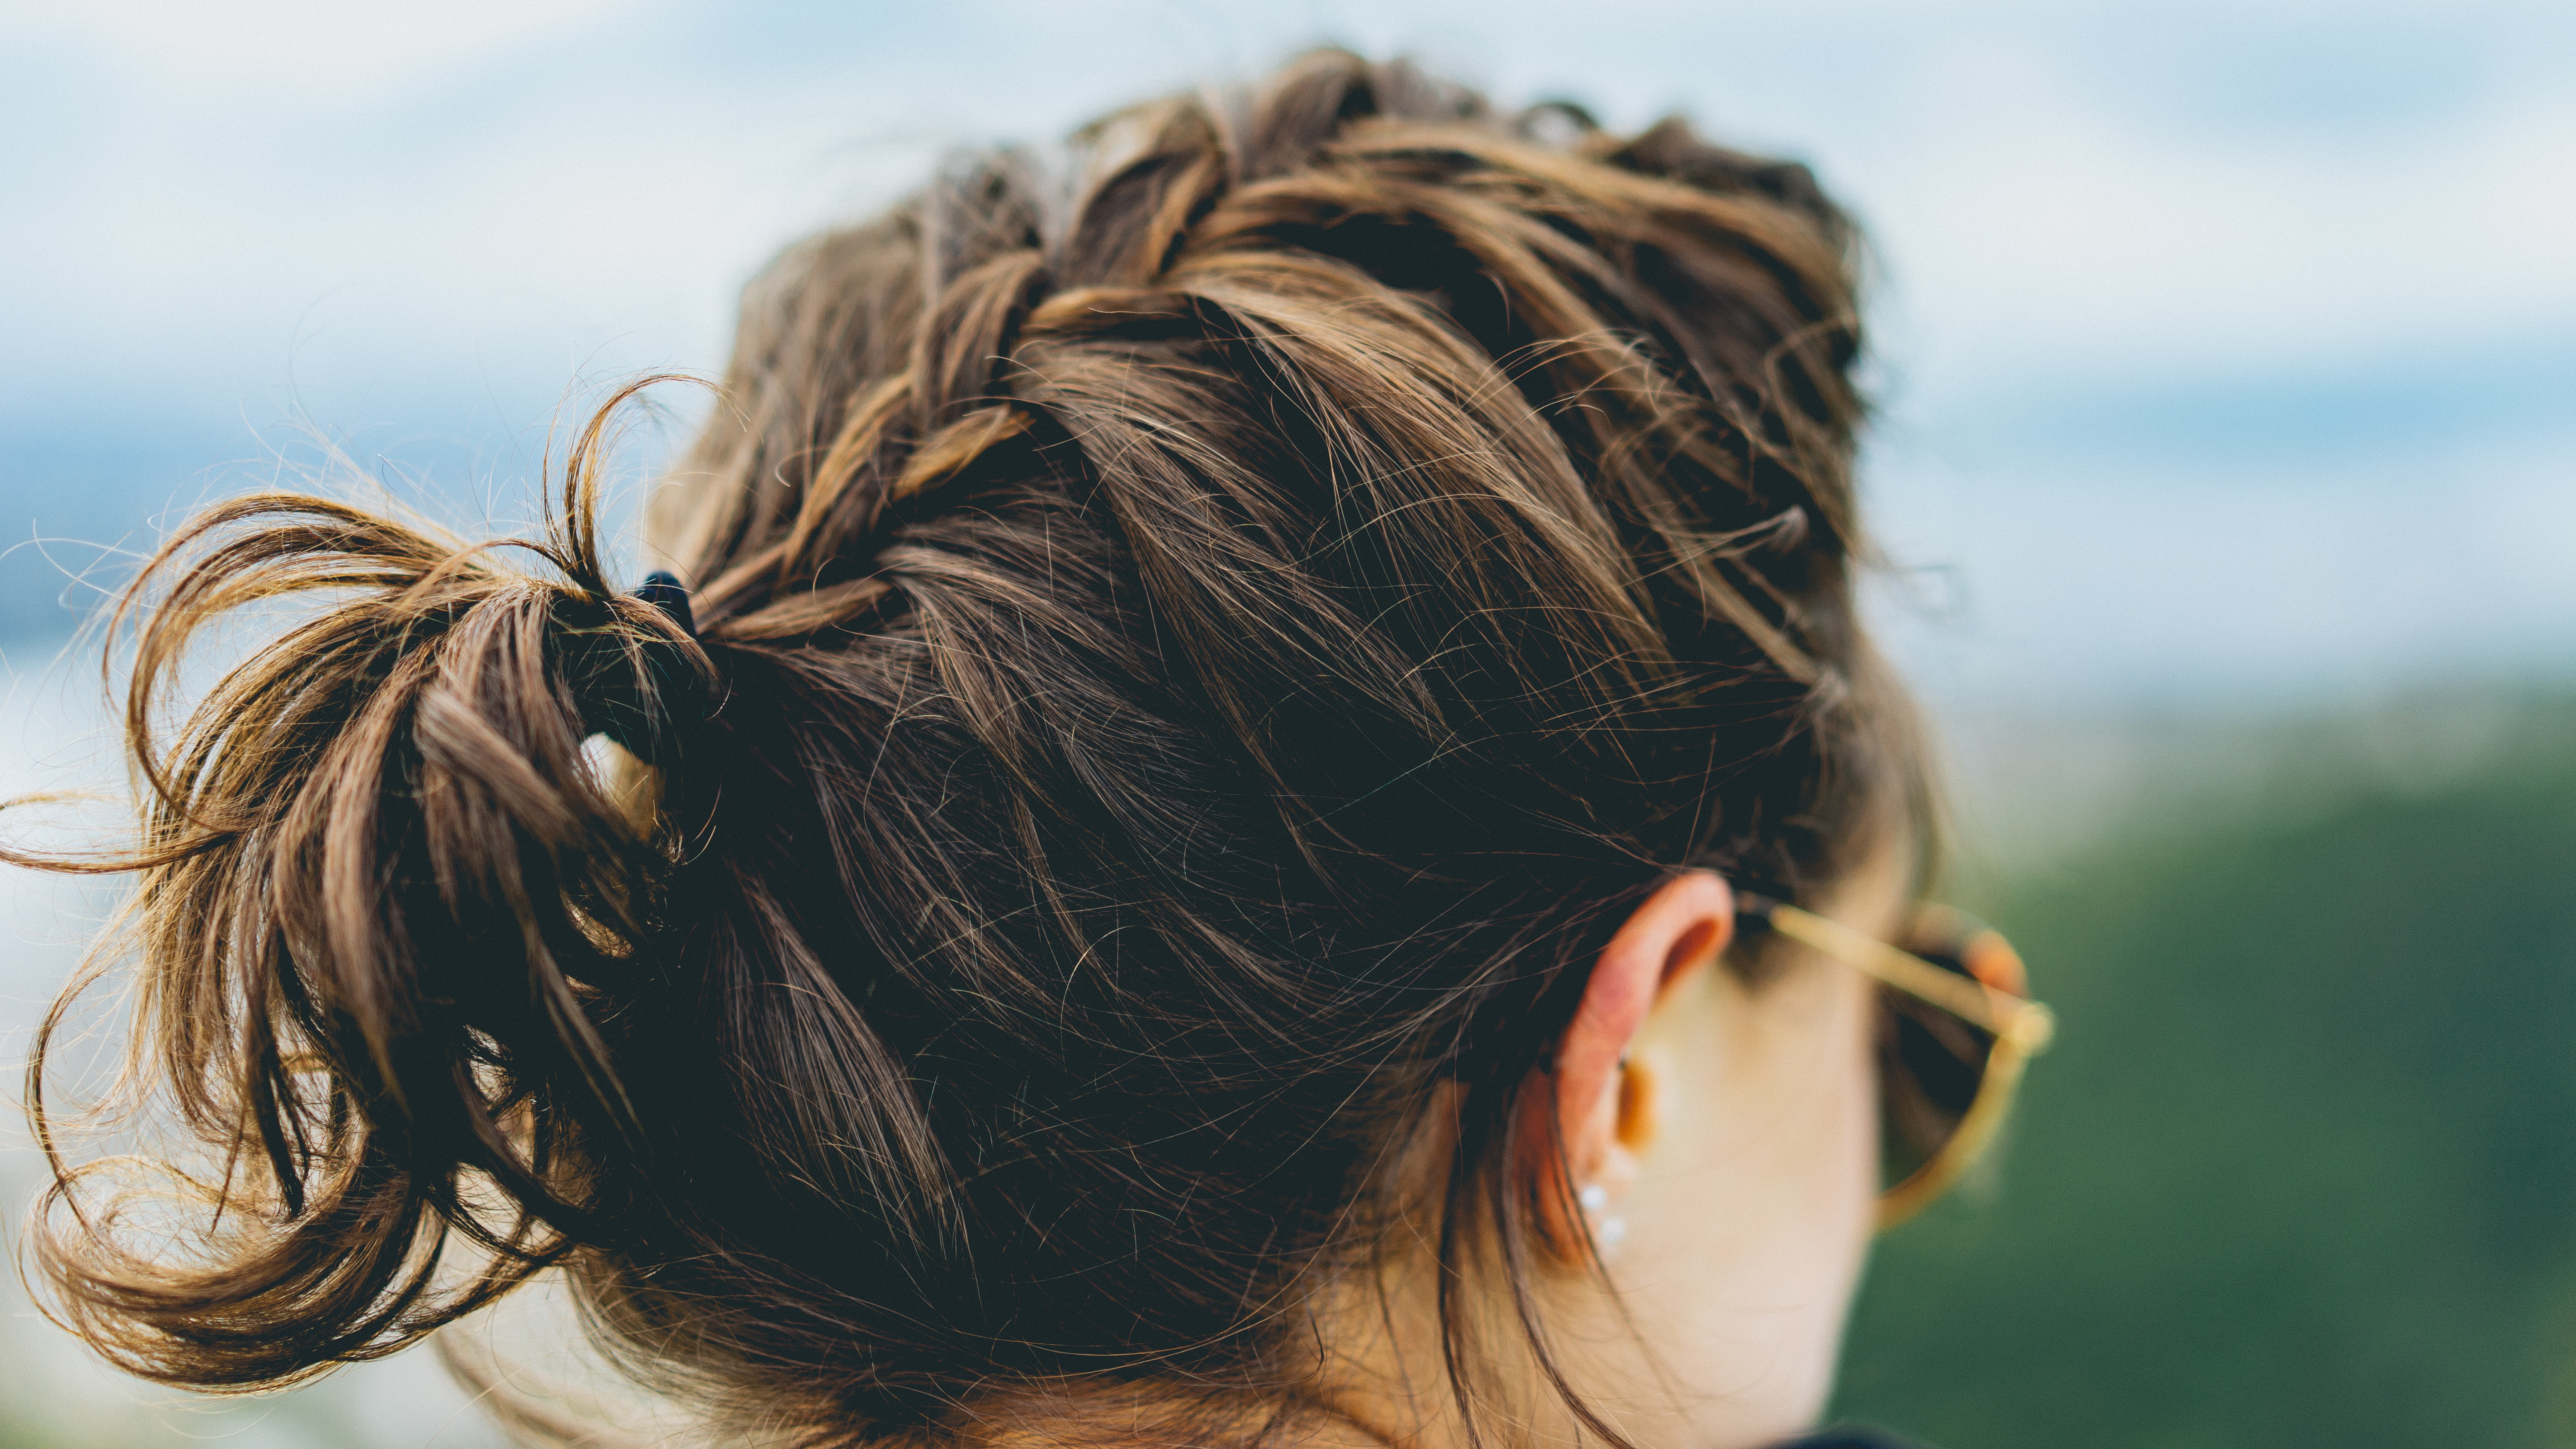
French braid into a ponytail
Step six
Whereas, for a regular French braid, you would continue to the nape of the neck, for this hairstyle you need to stop at the back of the head in order to make the ponytail. Scooping up the remaining hair from underneath the braid, create a ponytail with your hands before securing with a hairband.
Step seven
At this stage, you can either loosen some strands of hair to soften the look or keep it tight – it’s completely up to you. We personally prefer carefully pulling a few strands of hair out from the braid at the front to frame our faces, before pulling apart the braid a little to give it a undone look.
The asymmetrical French braid
Unlike with your average French braid, this one requires that you start with a deep side parting. Swooping your hair over to one side, you should begin the braid on the opposite side of the head, pulling the braid as close to the head as you can.

Step six
Once you have worked your way around the one side of you head, collecting as much hair as possible, you need to begin to incorporate the hair from the opposite side of the head into the plait. In order to do this, scrape bits of the hair back into the braid, almost as if you would when collecting hair to be braided in.
Step seven
Repeat this step, gradually incorporating hair from the other side of your hair into the plait, before braiding the remainder of the hair as normal.
If you have any other braided styles that you like to do on windy days, we would love to hear from you on one of our social channels, so get in touch!